This spring we replaced a cedar roof. Cedar roofs are beautiful, and, if installed right, will last a long time.
The roof we replaced this spring was only 17 years old, which for a cedar roof is about half a lifespan. The problem was that this roof was installed with standard galvanized roofing nails. Galvanized nails and cedar will react and speed up the oxidation process. The nails were all rusted out and shingles were just falling off the roof. If you want your work to last you have to use the right materials.

New cedar shingles on the left, old shingles on the right still to be replaced
Here’s What We Used
Grace Ice and water shield
Installed directly on the roof deck. This provides a self sealing water tight layer under your wood roof.
Cedar Breather
This product is installed on top of the Grace and under the cedar shingles. It is a nylon mesh roll that is tacked down with a few staples. It provides an air space to allow the shingles to fully dry out after they get wet.
Stainless Steel fasteners
We have used stainless roofing nails and staples, but I prefer a 1 3/4“ ring shank stainless steel siding coil nail. The head on the nail is plenty big and the holding power of the ring shank is impressive.
Red Cedar Perfection Shingles
The perfection grade shingles are 18“ and all heartwood with vertical grain and squared. They are the best and it shows.
How to Install a Cedar Roof
The installation process for cedar roofing is similar to any other roofing product. Bottom up, stagger your joints and repeat. Here are a few tips to get you started:
Nailing
Nail each shingle with only two nails. Approximately 6-7“ up from the butt end and 3/4“ in from each side.
Coursing
When laying your courses, the edges of your shingle must not land within 1 1/2“ from a joint on the course directly beneath it and 1“ from the course two courses down. This is because in three courses of shingles if the first and third course have a shingle with joints that line up and the middle shingle splits at that exact spot, then all three shingles will have a joint right to the roof deck. Leak.
Overhang Your First Course to Provide a Drip Edge
A quick tip to accomplish this is to screw a piece of strapping to a 2×3 and leave a 1“ lip. Take this guide and screw it to the facia trim at the roof eave. Lay your first course against the lip you created and then lay a second course directly on the first course making sure to stagger your joints. Once this guide is removed you will have a nice straight edge with a inch and a half overhang.
Have a Good Setup and Stay Organized
Having proper staging is key for safety, but also gives you plenty of space to have materials up near your work. Take a few minutes to organize shingles by size. I find the fastest way to install is to have about 20 shingles in hand stacked from smallest to biggest. I like to look at the roof and then grab either a big, small or mid-sized shingle. You’re eye will get good at seeing what you need and if you have an organized pile, it will be fast to locate a shingle that works.
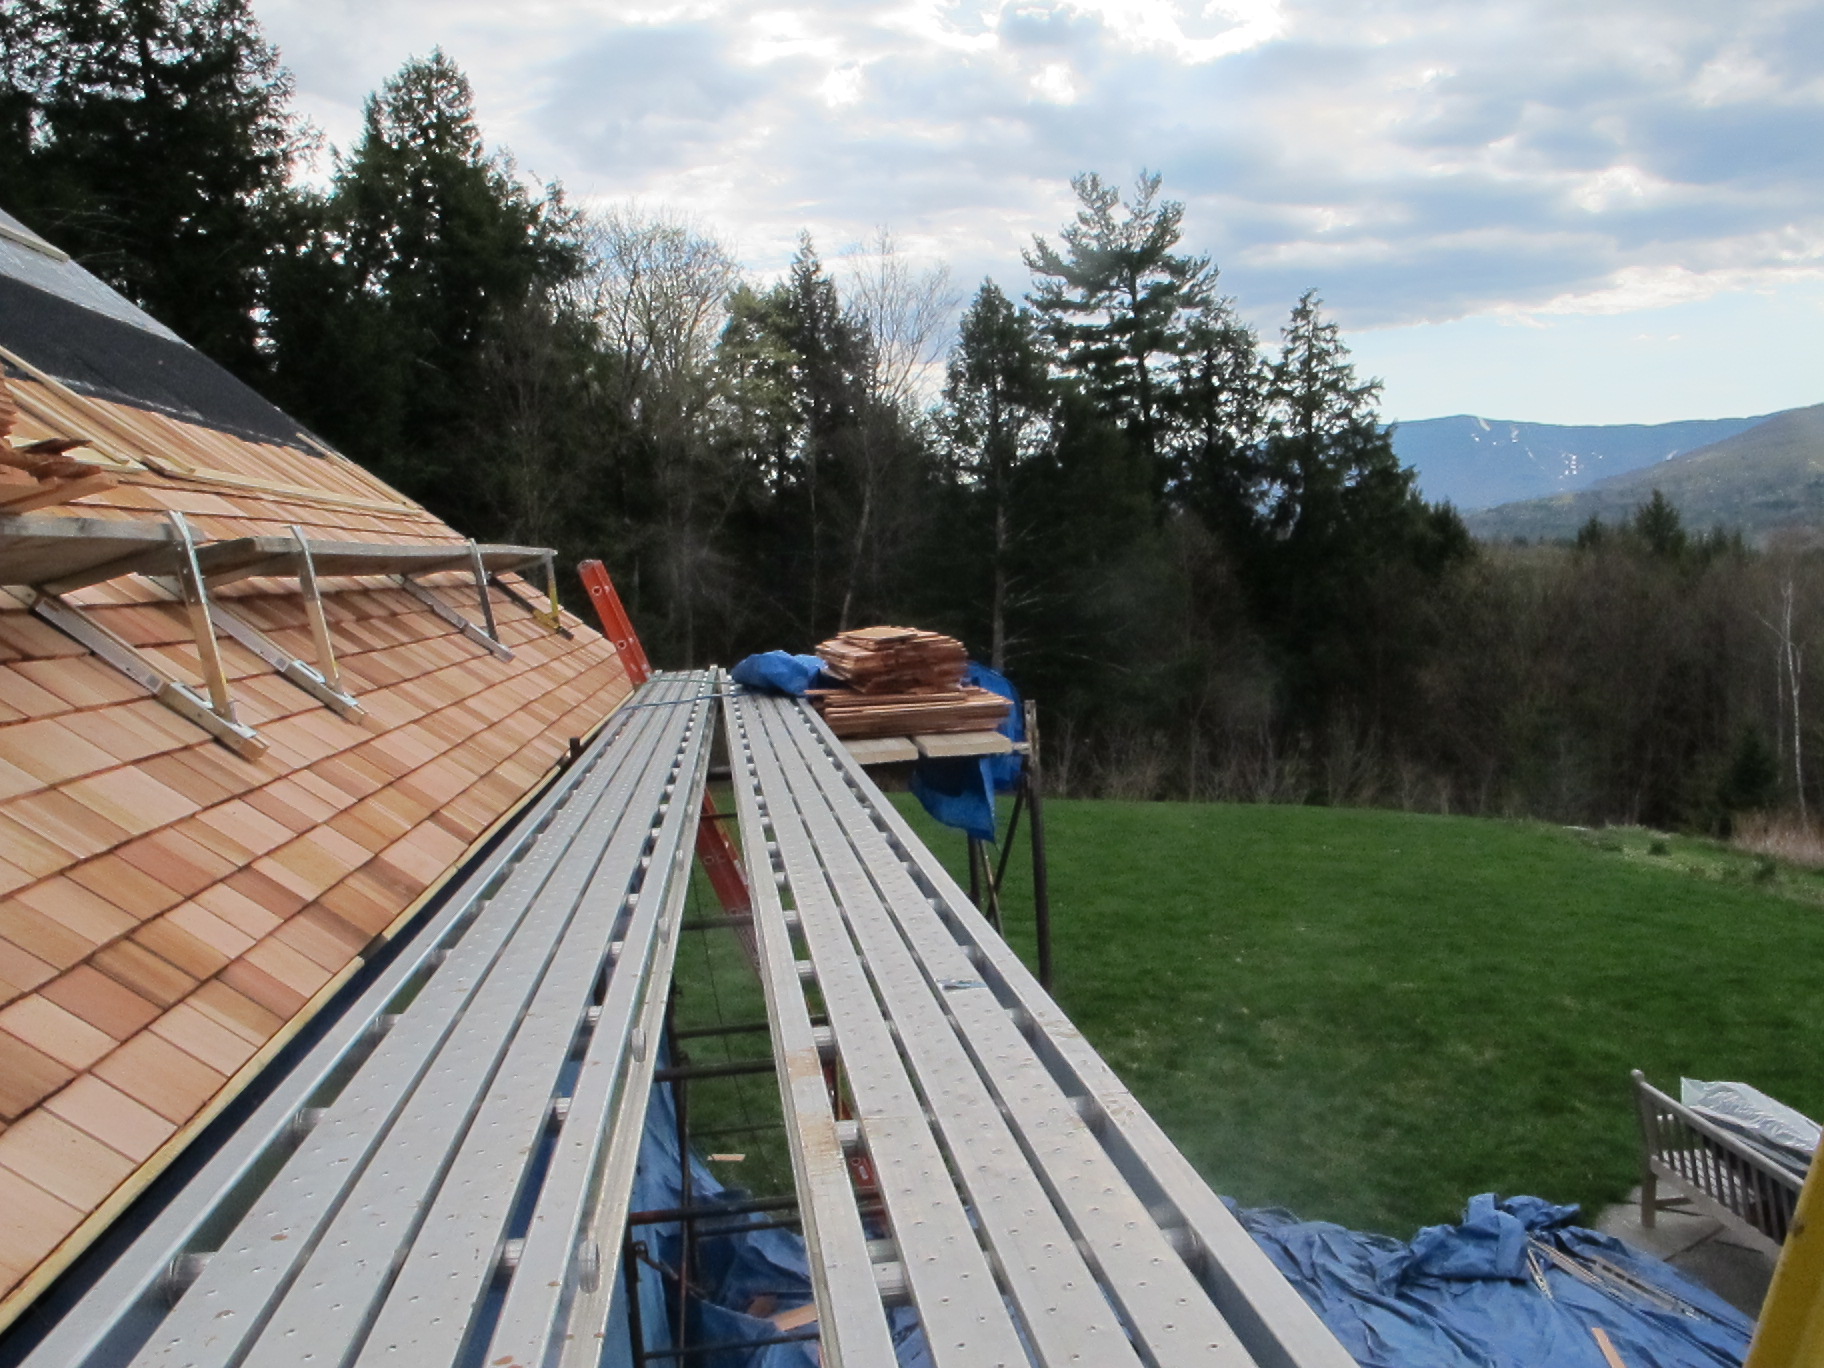
Proper staging is essential for any roofing project
Use a Guide for Your Courses
We like to use a 1×4 with two 24“ pieces of strapping attached perpendicular at each end with one screw. Set the 1×4 at your reveal, most often 5 1/2“ and lay the shingles along the guide, taking care not to line up any joints. Once you are happy with your course, nail it off and move up the guide. Repeat.
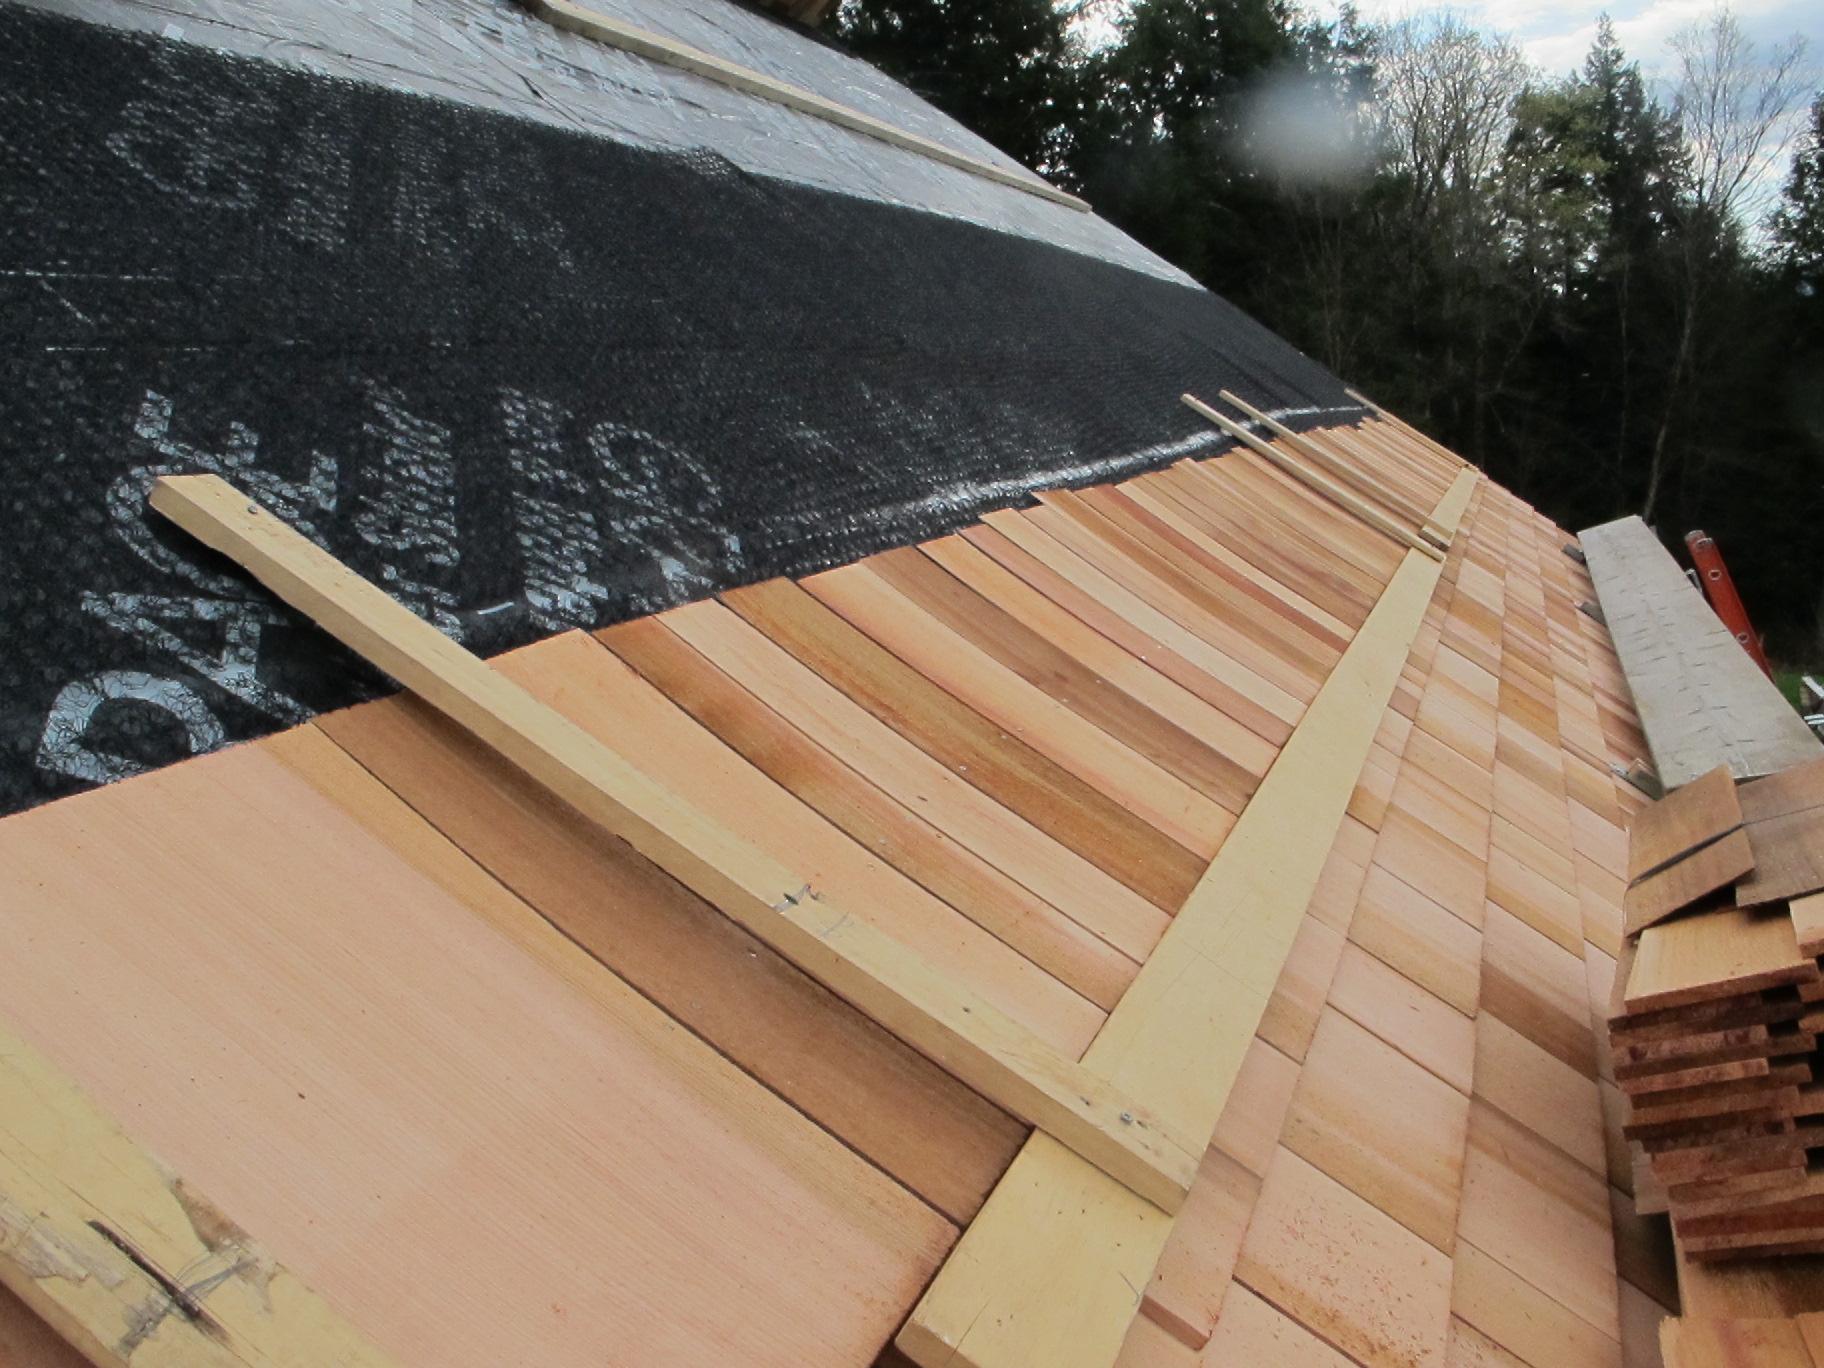
Cedar roof guide in action
Caping
At the top let the shingles run long and trim with a skill saw all at once after your last course is on. Cap the roof with a 4 1/2“ shingle pair running parallel to the ridge. Then stagger the joint from one side of the ridge to the other. Depending on the pitch of the roof you may have to bevel the edge of your cap shingle.

Top cedar shingles awaiting cutting
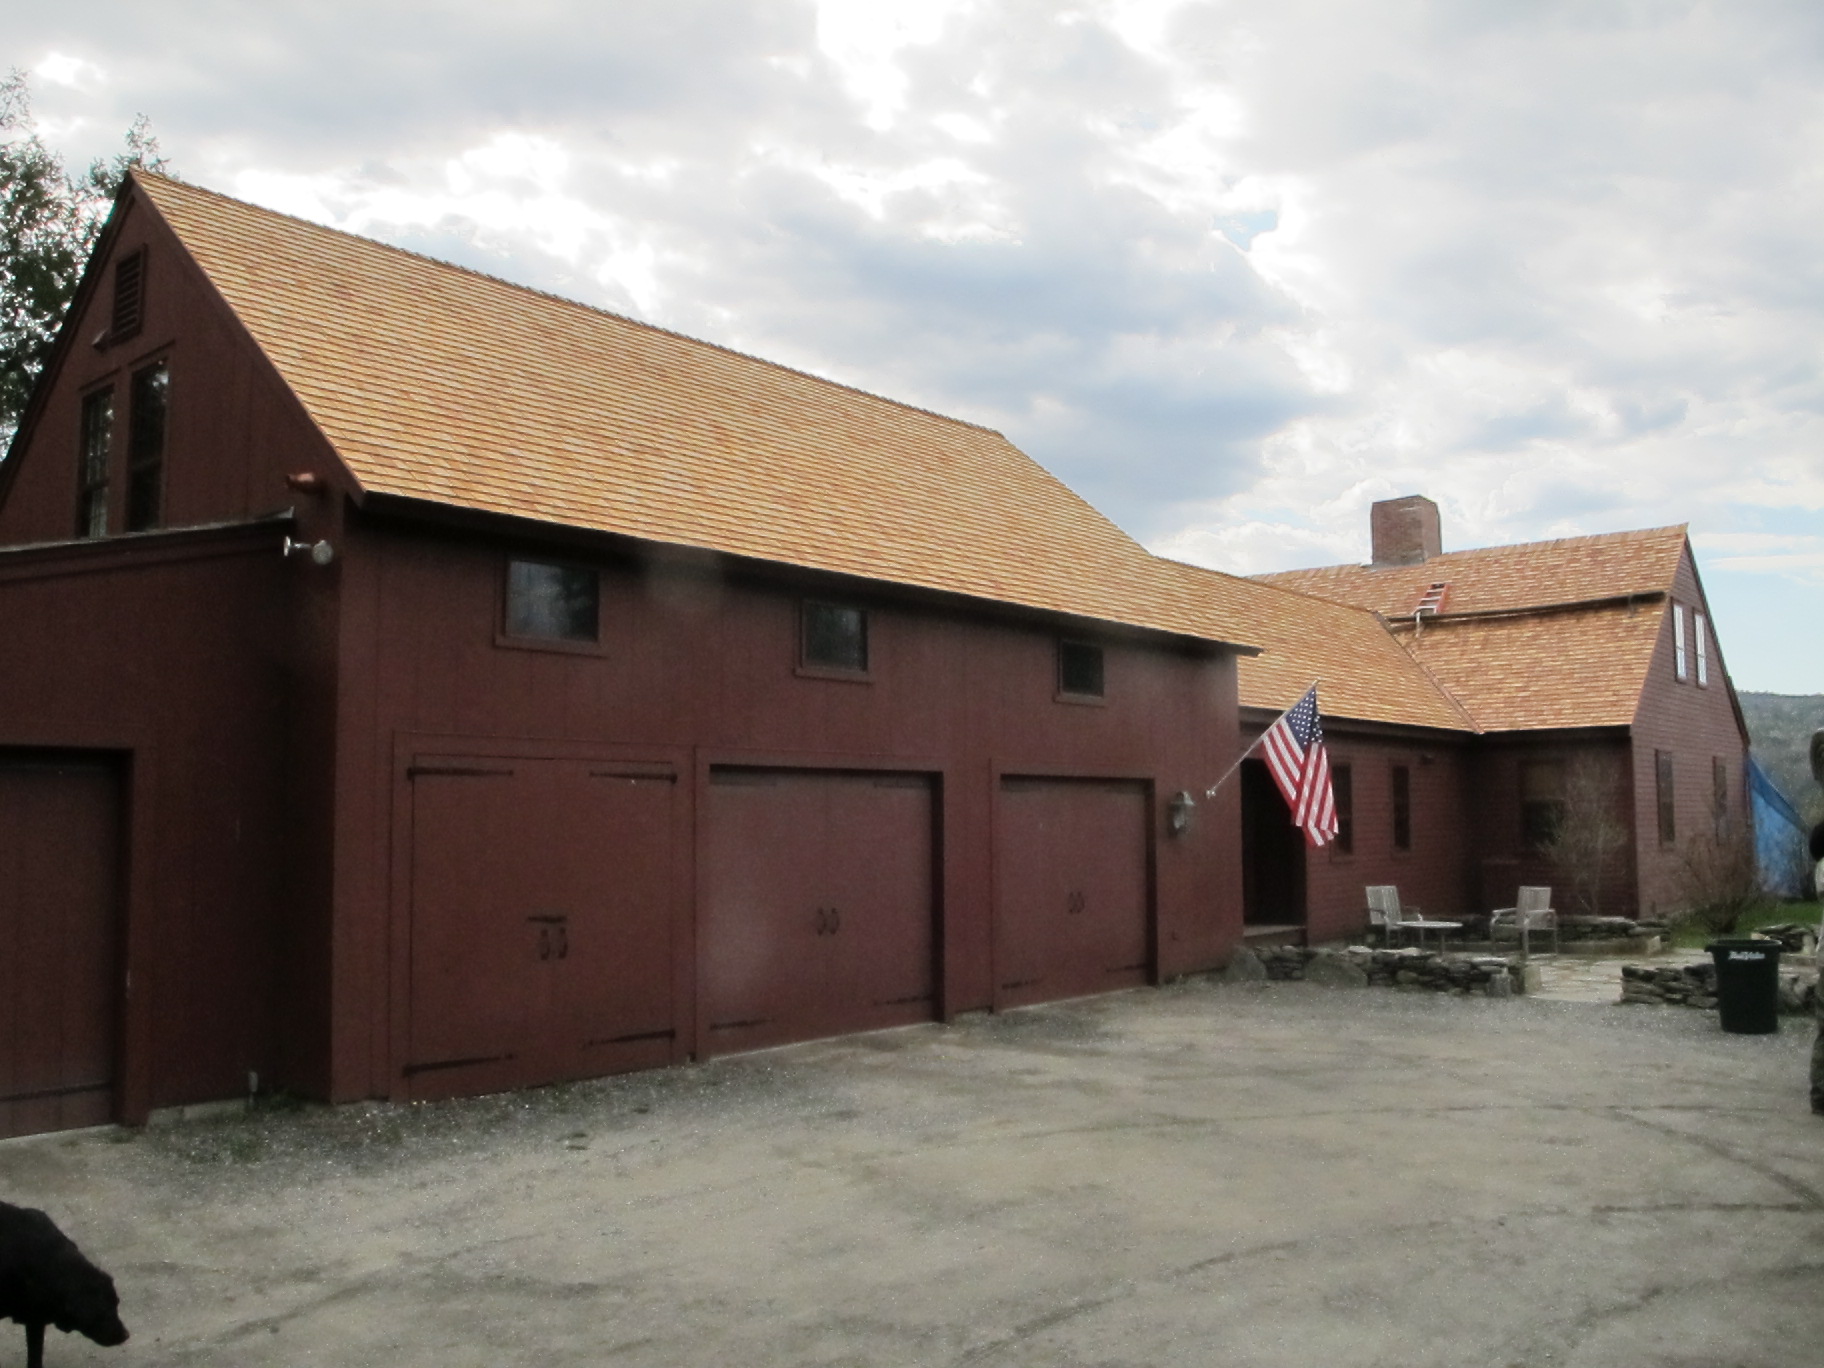
Chief (lower left) inspects the finished job
Good luck and enjoy!
Leave a Reply
You must be logged in to post a comment.